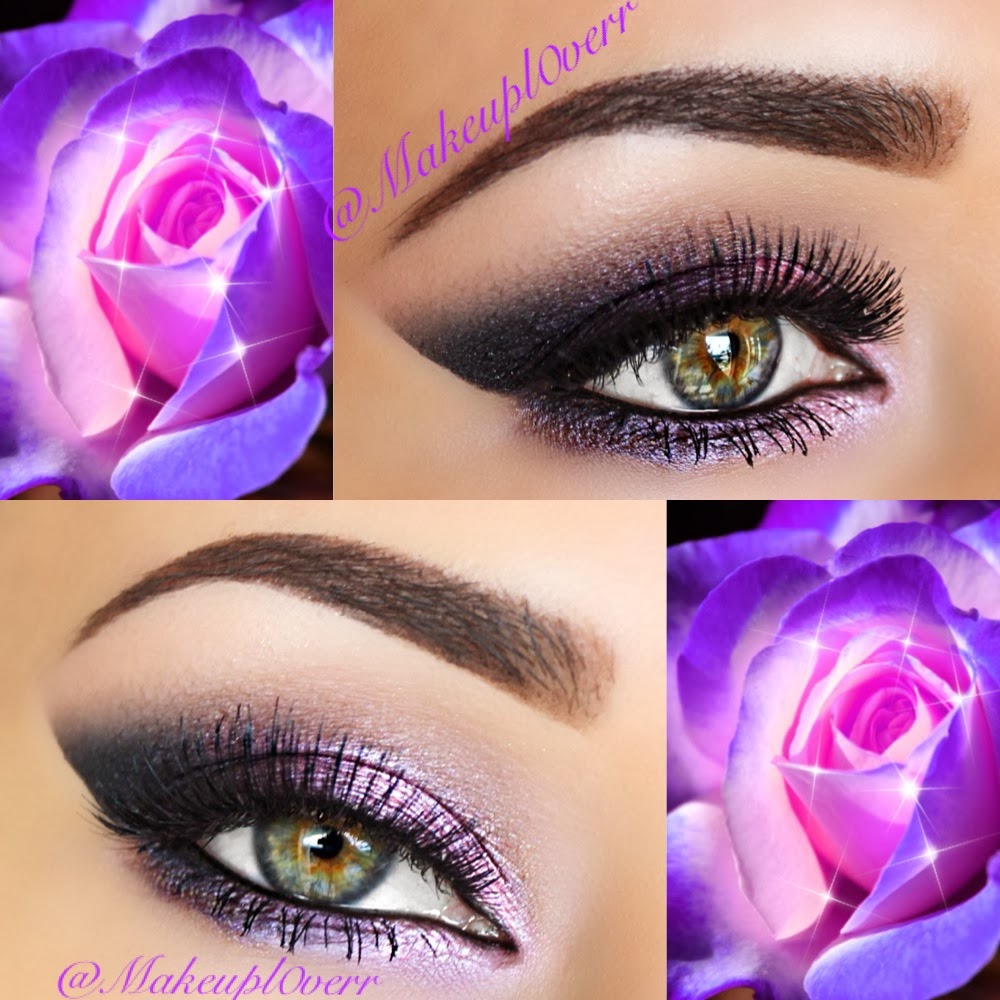
Hey Makeupl0verr's, here's another smokey eye I created inspired by Valentine's Day :) Steps and products listed below for your enjoyment! :)
- Outline the base of your brows with Mac Dipdown Fluidline using a small angle brush, mine has no name, it's so old! I filled in my brows from the arches to the end with Dipdown. To fill in the beginning to middle of my brows I used Anastasia Beverly Hills Brow Wiz in Brunette. Clean up under your brows just to make sure it looks as clean as possible using Mac Studio Finish Concealer NC 20.
- Prime your eyes with Urban Decay Primer Potion, and I used the original color. I prefer to apply Shadow Shields to make sure my shadow has that crisp line at the edge but this is optional! :)
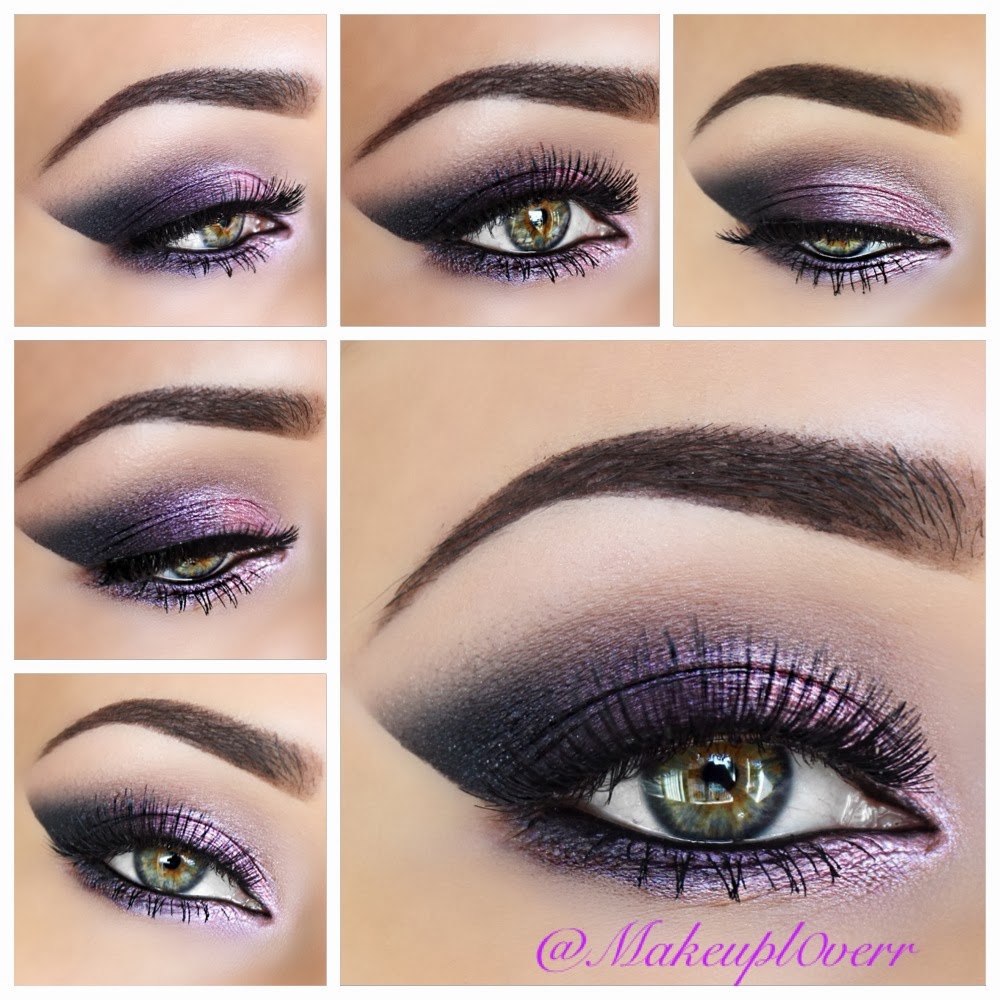
- Using Mac 224 Tapered Blending Brush, or any tapered blending brush, apply Mac Eyeshadow in Malt onto your crease.
- Take Mac 217 Blending Brush and apply Sable by Smashbox onto your crease, keeping this color only in the deepest part of your crease.
- Take Mac Pro Longwear Eyeliner in Black Ice and apply a thin layer as a base in the outer corner of your eye where your black eyeshadow will go. This will intensify the smokey effect.
- Now apply Mac Eyeshadow in Black Tied over the Black Ice pencil with a clean Mac 217 Blending Brush. Blend, Blend, Blend and bring the Black Tied e/s as far into your eyelids as you'd like depending on how dark you want your look. Drag the Black Tied e/s down under the outer part of your lower lashes with Mac 219 Pencil Brush.
- Apply Mac Eyeshadow in Nocturnelle with Mac Eye Shader Brush 239 directly next to Black Tied and bring that in around the half way point of your eyelids. Take a clean 217 Blending Brush and blend between Black Tied and Nocturnelle to make sure they are no harsh lines.
- Spray a small flat brush with Mac Fix+ and apply Mac Eyeshadow in Swish to the inner half of your eyelids, as well as under the inner half of your lower lashes.
- Apply Inglot Gel Liner #77 with an eyeliner brush to your water line. Totally optional! This gel liner works well for my super watery water line!
- Apply your favorite lashes to complete your look! I love Red Cherry Lashes and I glued #117 on top of #747M.
Hope you try this look and tag me in your pics! (@Makeupl0verr)
Thanks for stopping by! :)
No comments:
Post a Comment