Monday, May 5, 2014

Strike a pose!

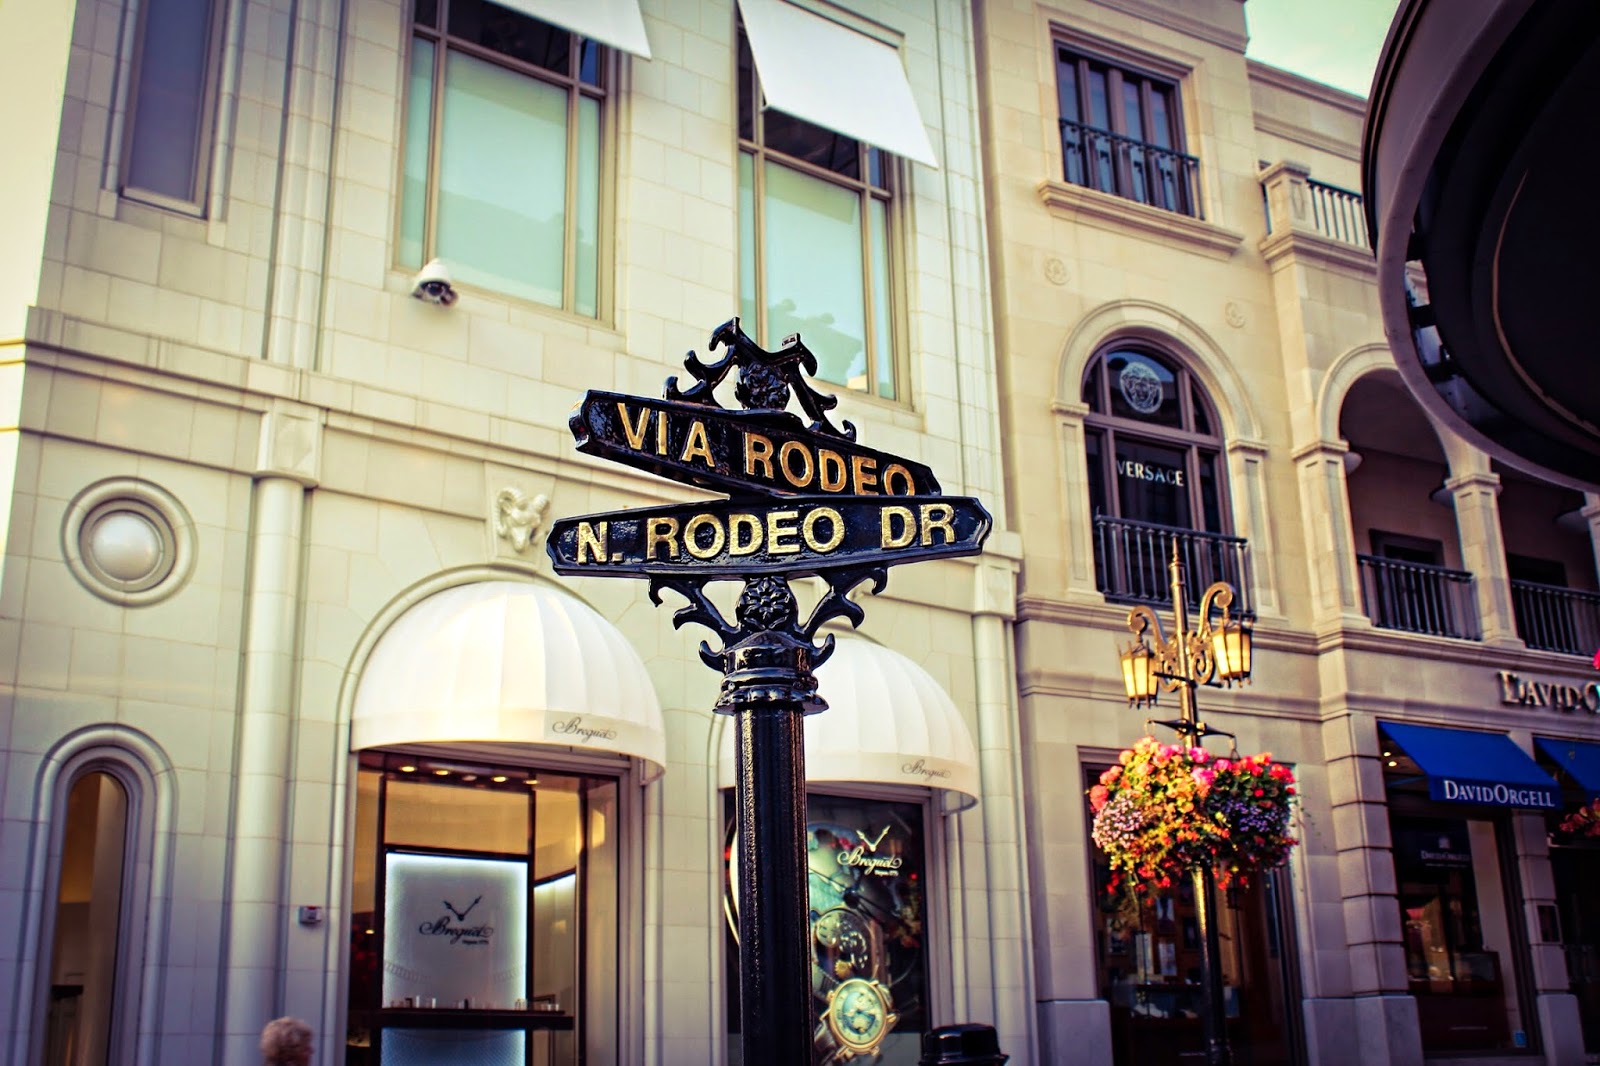
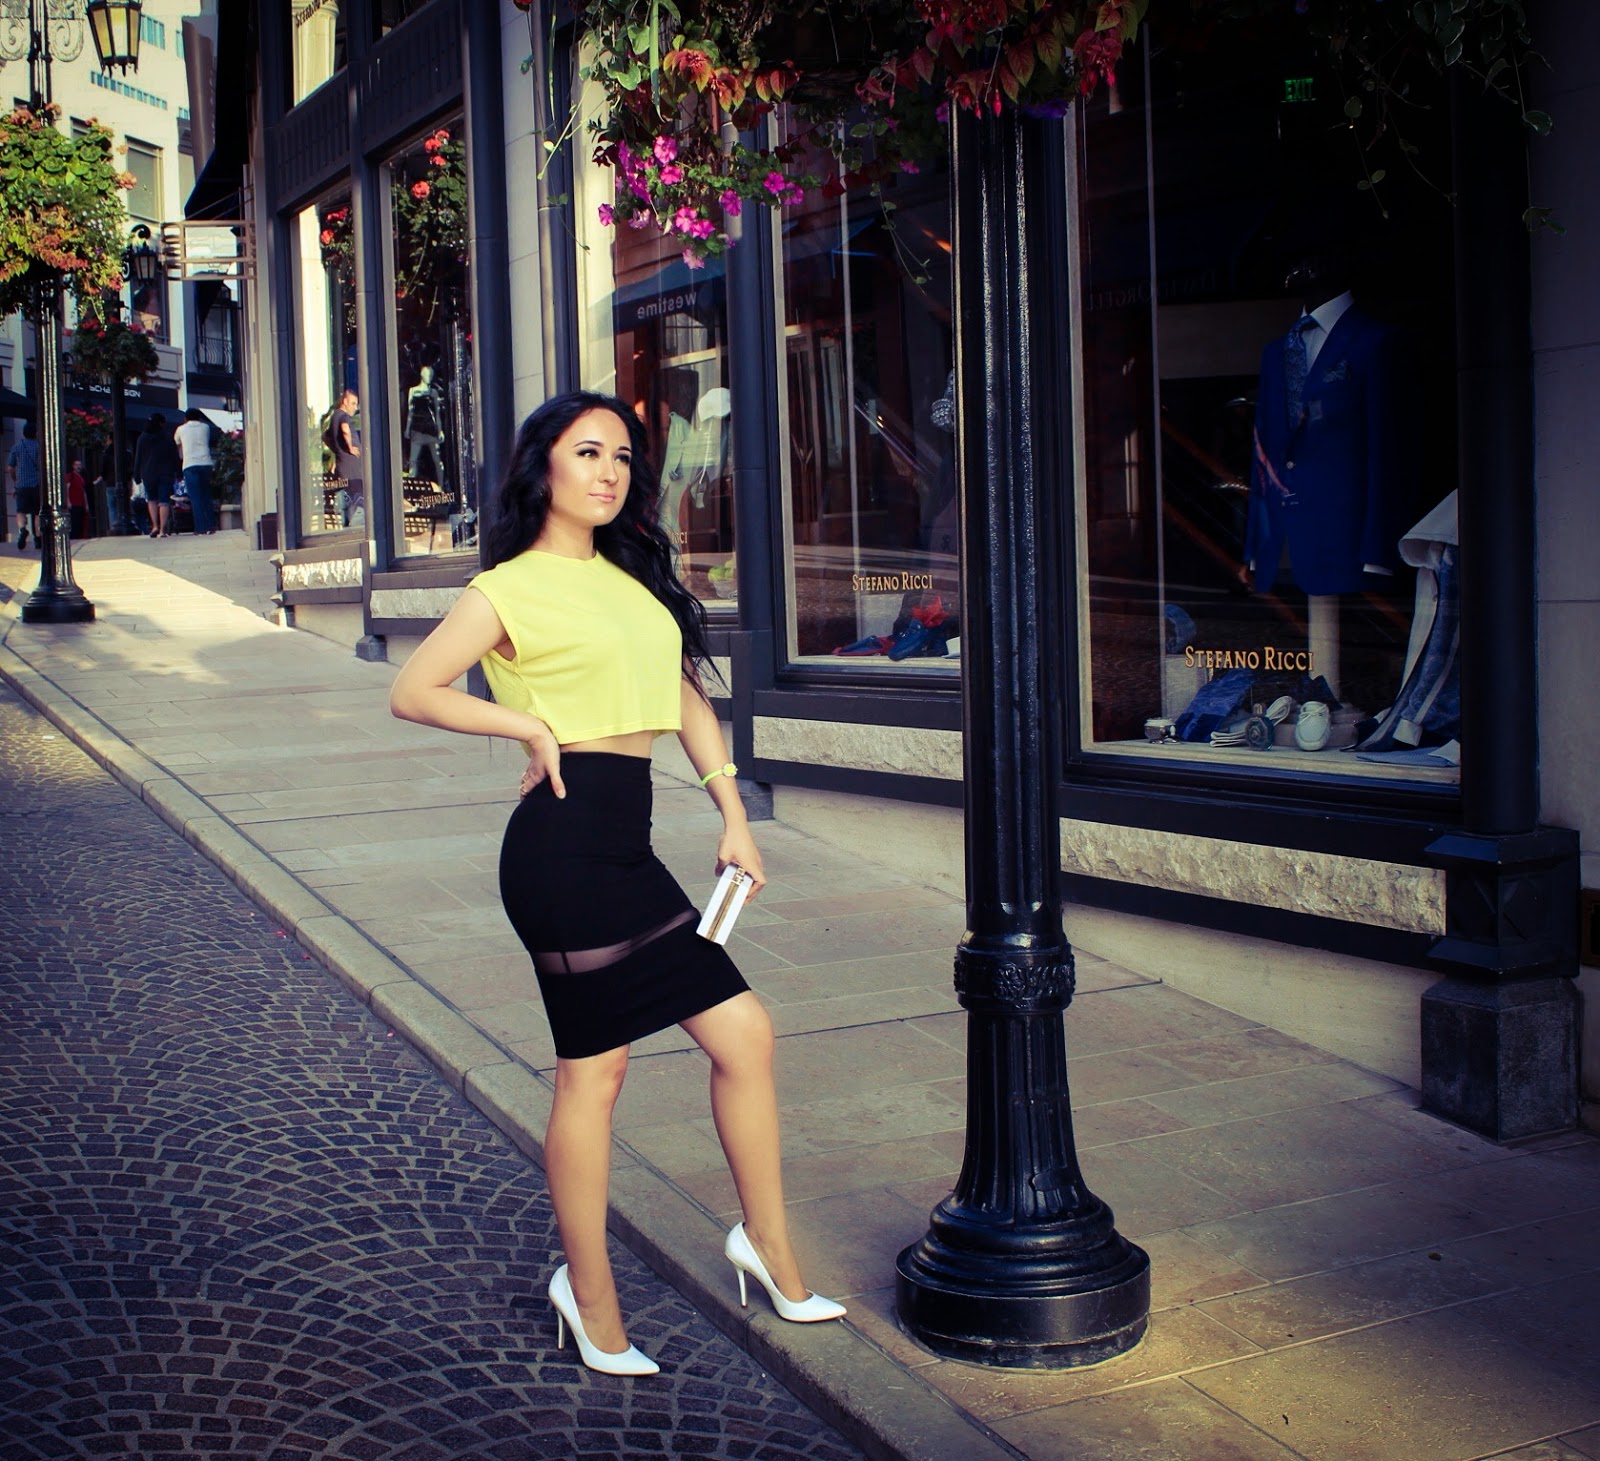
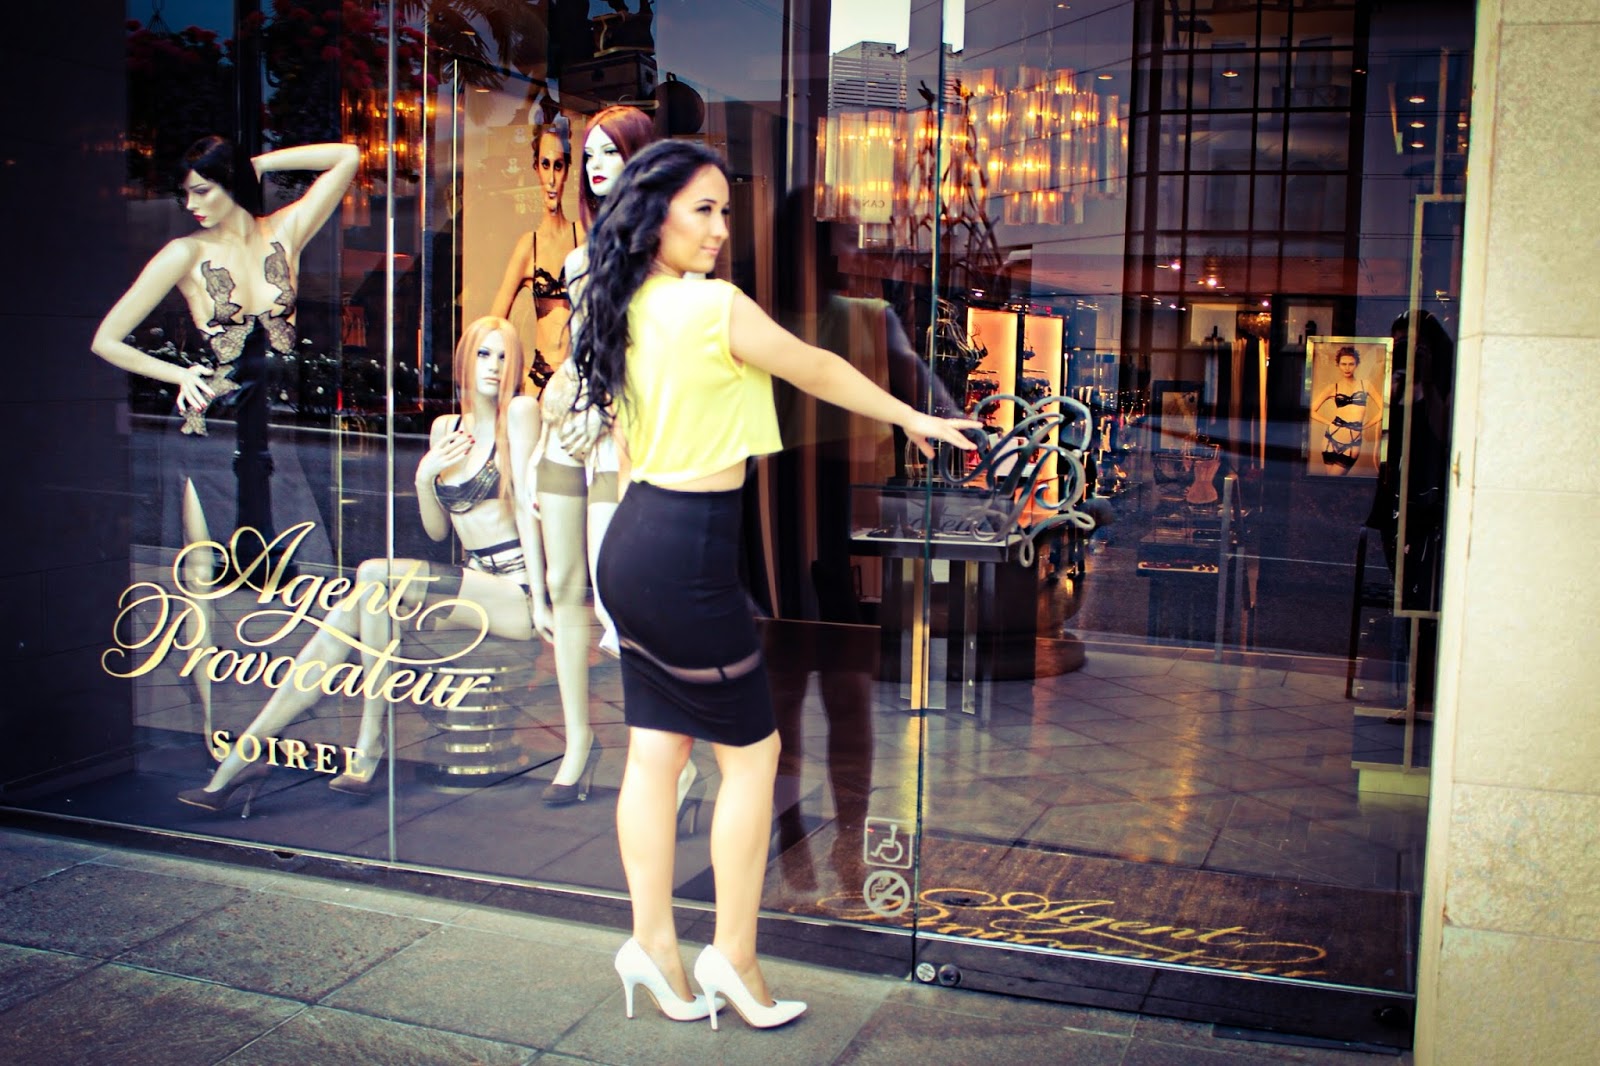
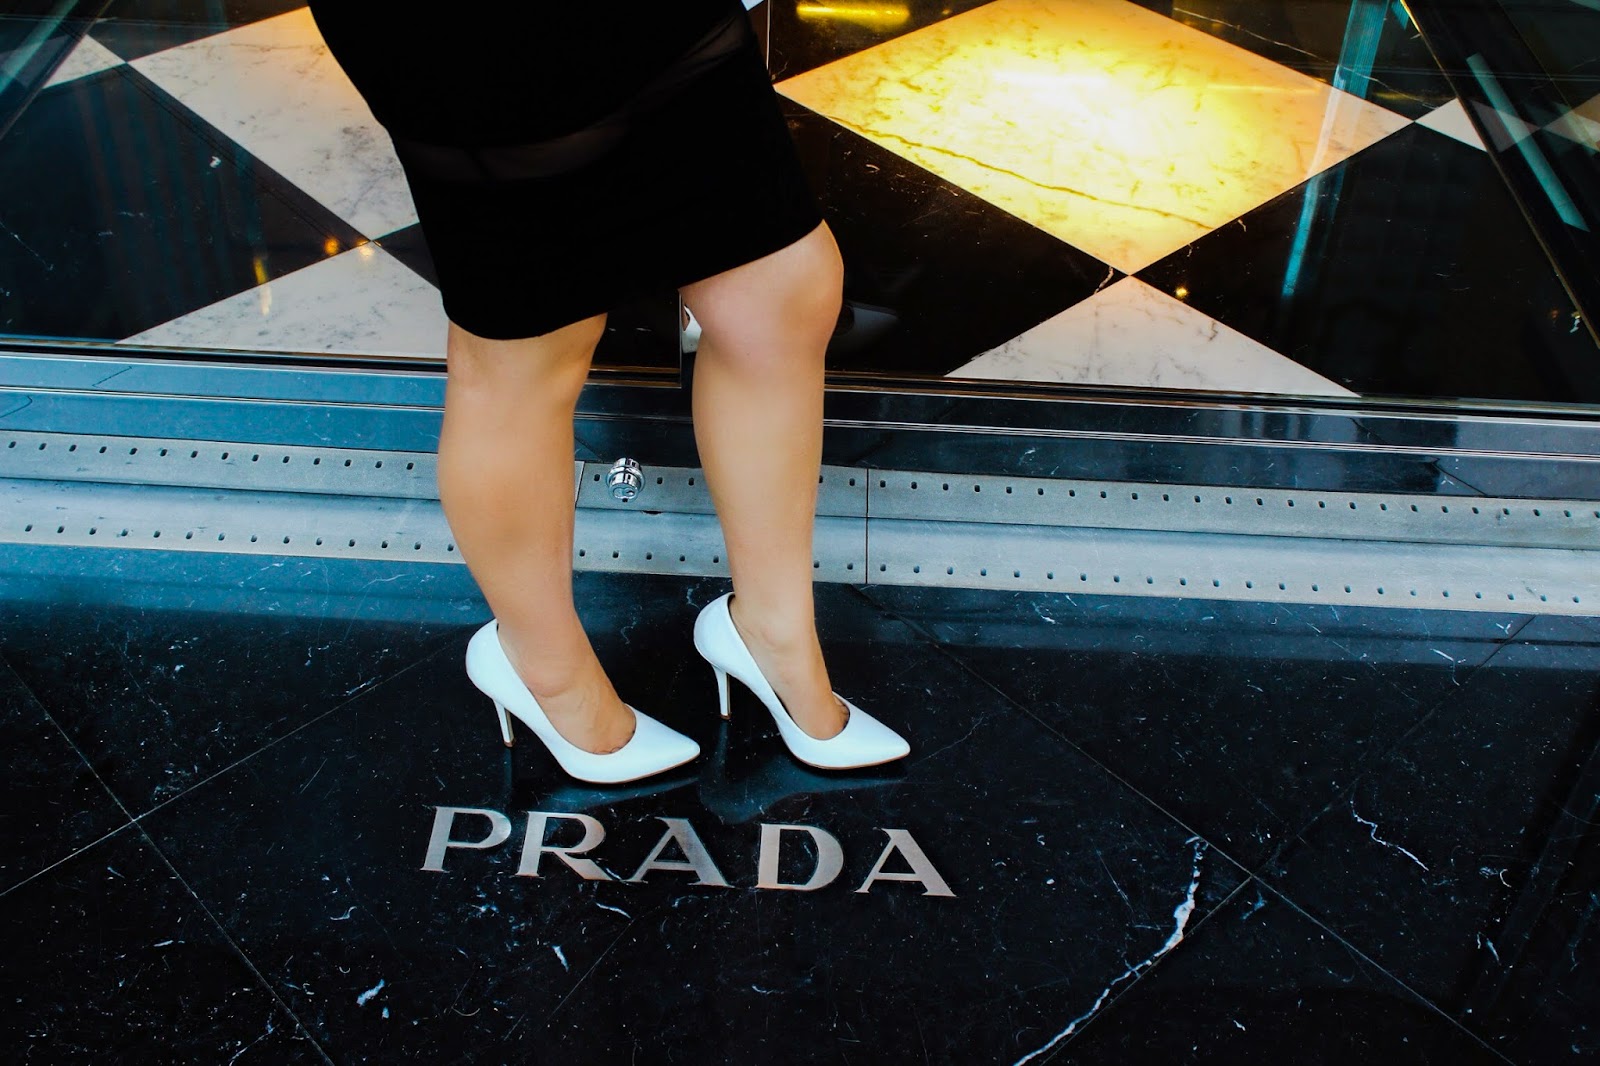
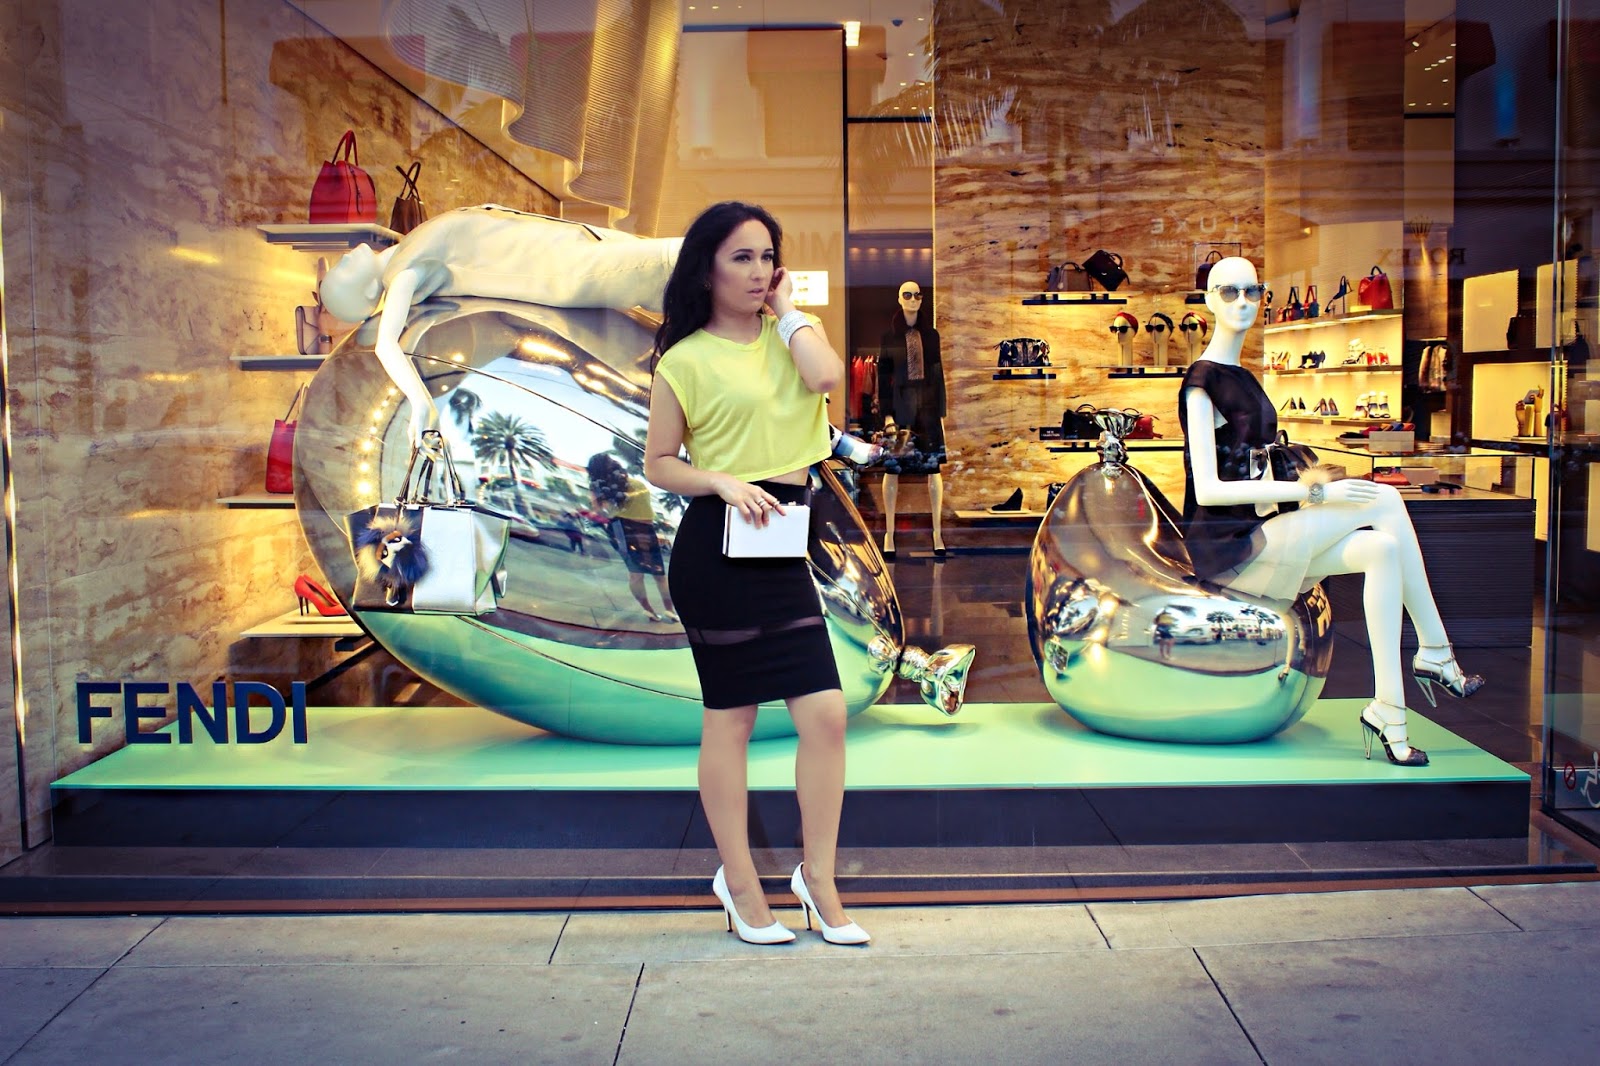
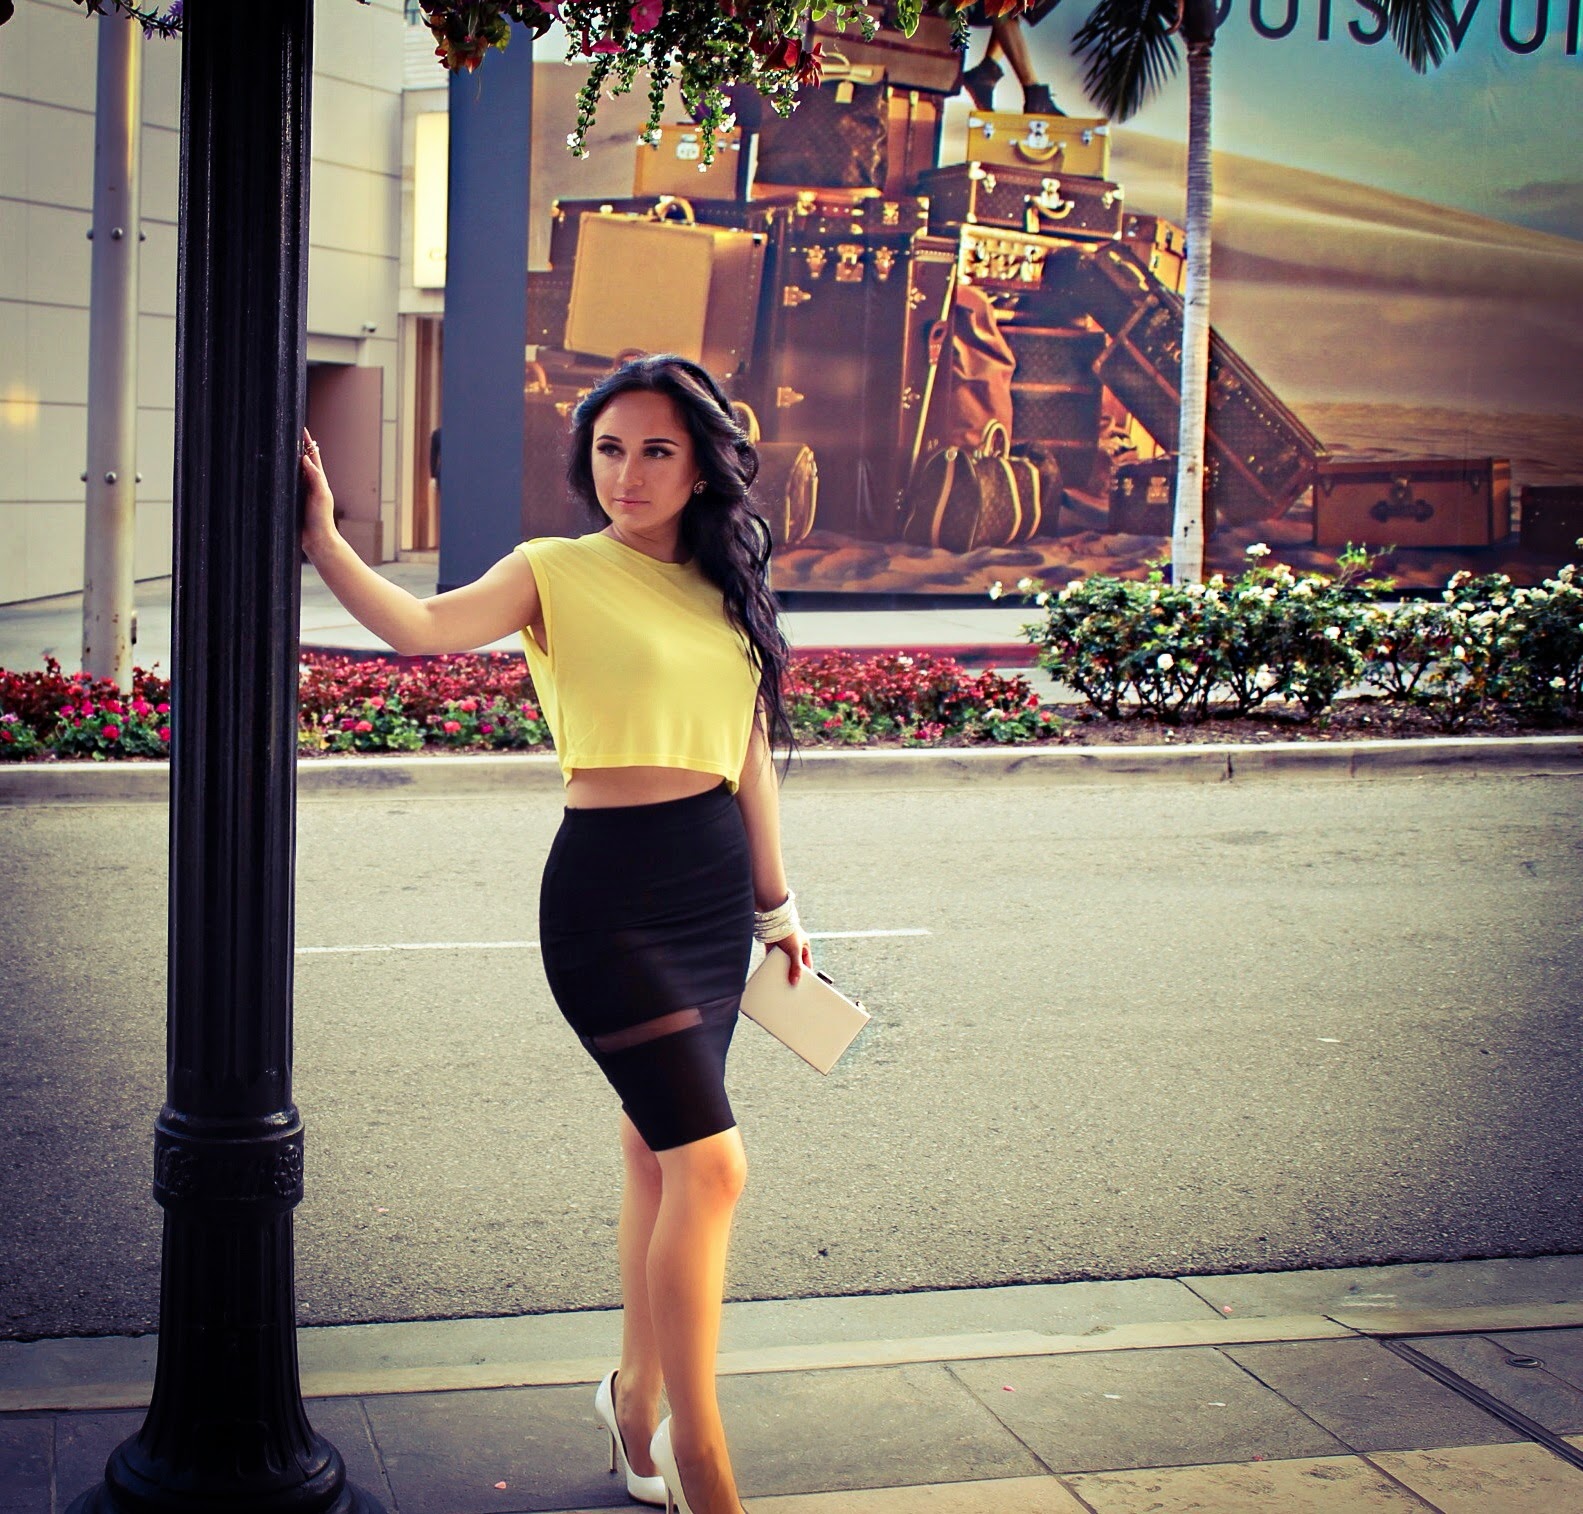
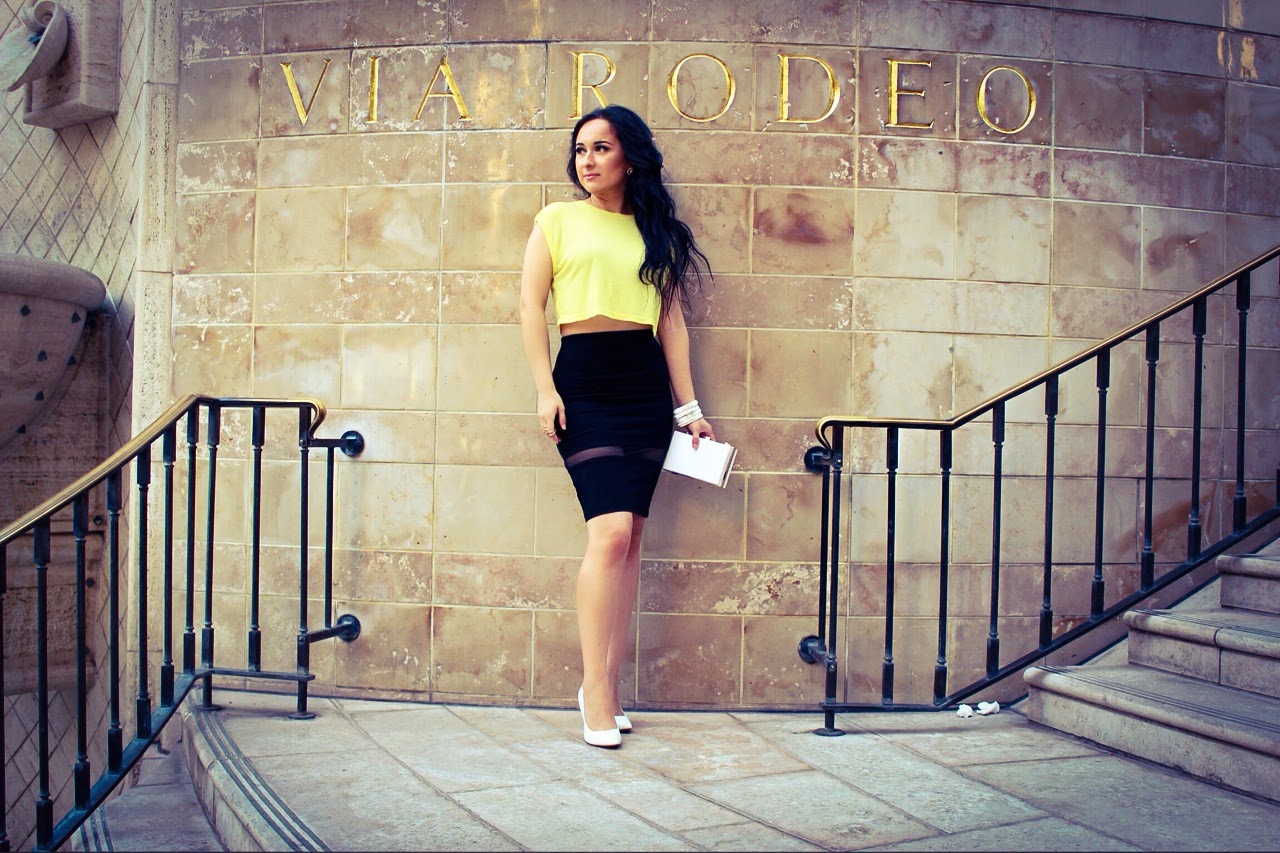
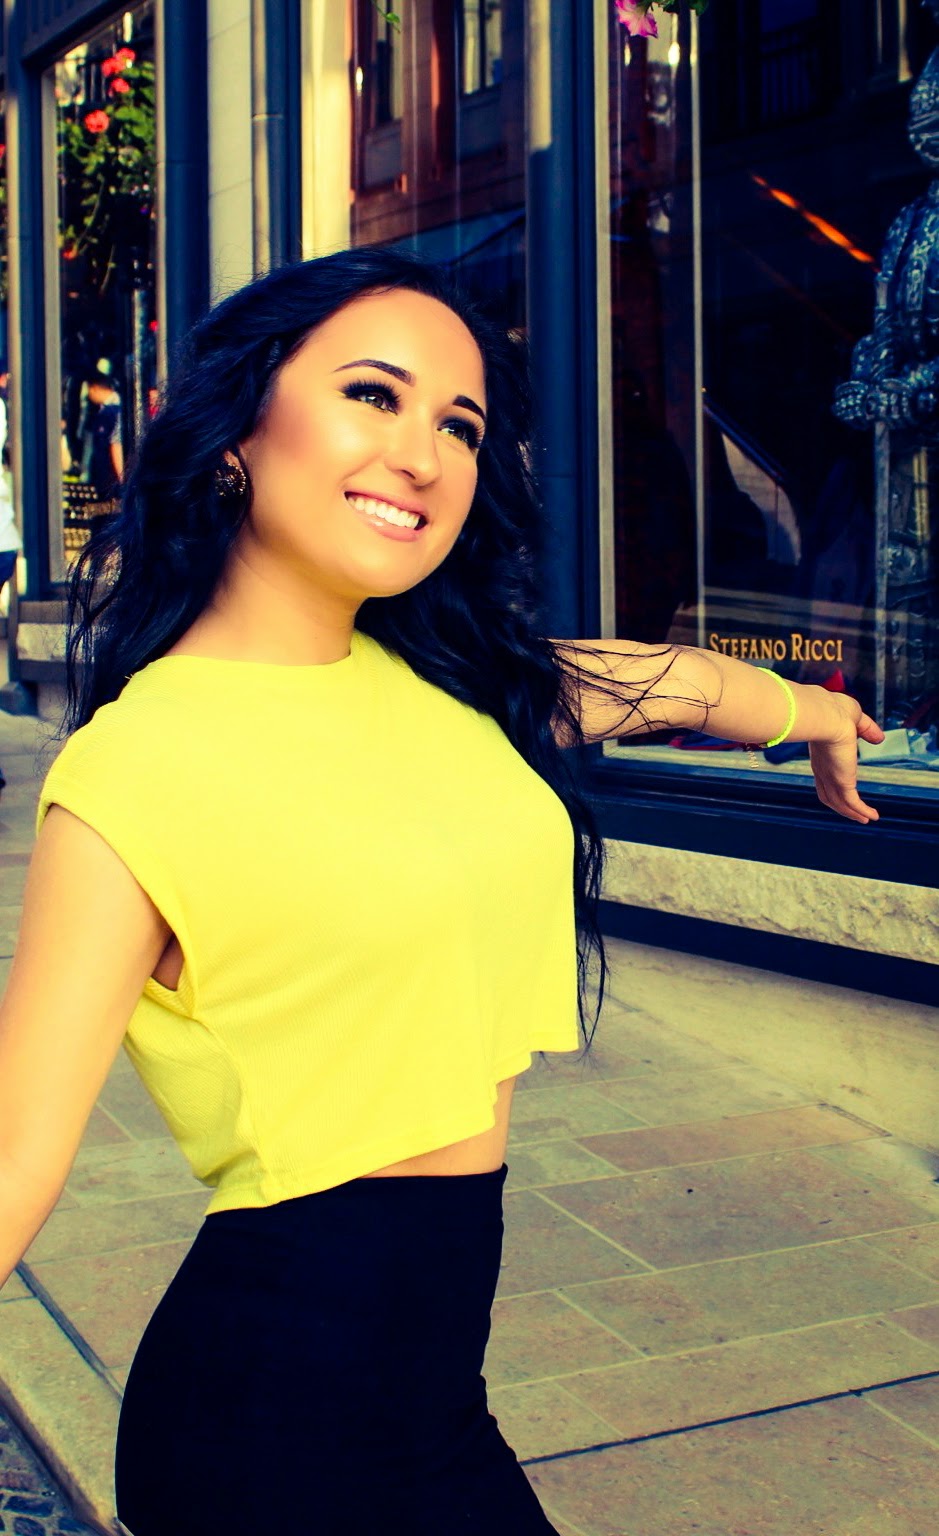
Hi friends, welcome back! This weekend was a hot one here in So Cal and as soon as I spotted this yellow crop top I knew I had to wear it out and pretend it was already summer, lol! So, as I was putting my outfit together I realized it was too cute not to wear it somewhere gorgeous. When I stopped to think of gorgeous places, well of course iconic Rodeo Dr. came to mind! The window displays were so inspiring, and before I knew it I was posing all mannequin like lol! The window displays are so gorgeous!! Come with me and take a walk through Rodeo Dr.!

Details:
Outfit: Zara
Shoes: Aldo Shoes
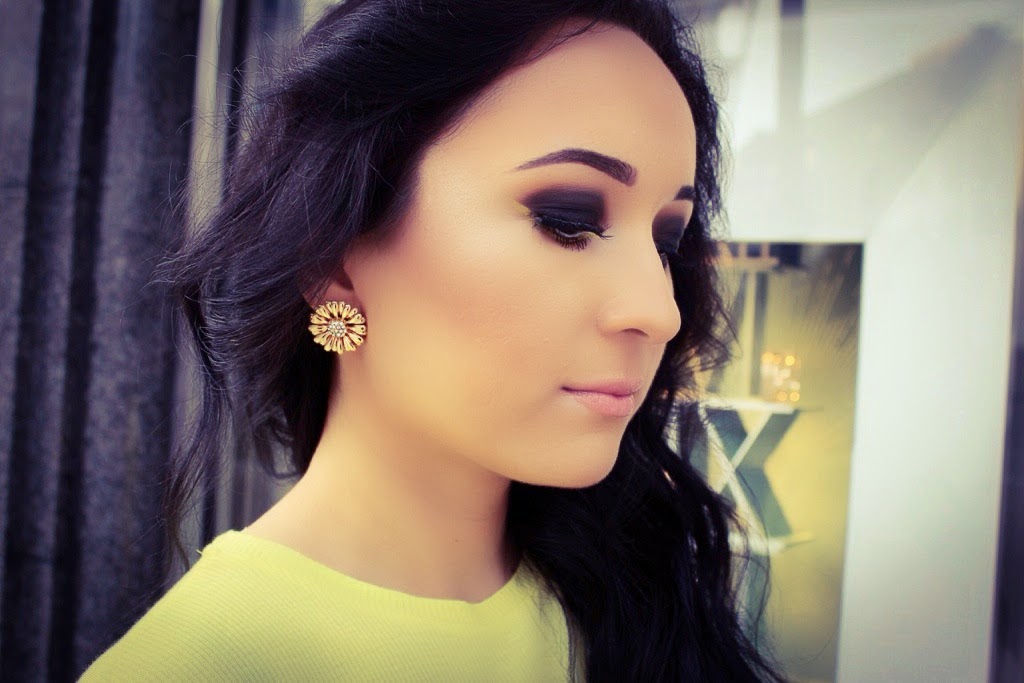
Earrings: Forever 21
Purse: Boutique in Miami, sorry dont remeber the name!
Bangles: Instagram account @Barcellets


Thanks for stopping by!!!


Tuesday, April 22, 2014

Nature Shoot!

Hey Makeupl0verr's, I recently purchased a gorgeous teal chunky necklace and decided to make a spectacle of myself wearing it. Lol. Hope you like both my dressy and casual take on this necklace and dress ensemble :) Thanks for stopping by!

Details
All accessories: Forever 21
Heels by: Lola Shoetique
Boots by: American Rag
Dress: Brandy Mellville
Photo Credit Instagram: @ea_87


and for a more casual look, I changed into combat boots :)


This bag was free with purchase, sorry forgot where!! 

Sunday, April 20, 2014

FashionL0verr's Welcome!

Thought I'd post today's outfit seeing as I love fashion and thought I should share that side of me with everyone.


Today was a super gorgeous and hot day in So Cal!! My moms birthday landed on Easter this year so it was an extra special day! I wore a White crop top and tan colored pants with a faux leather finish, both by Zara.  I bought these white pumps two years ago at Aldo Shoes before I went on a trip to Miami and I have gotten sooo much use out of them! I LOVE them!! And finally my purse was a birthday gift and it is by Jessica Simpson. Also, I live for Pottery Barn and took that shameless pic at the end in that amazing and comfortable chair that went perfect with my outfit. LOL!
Thanks for stopping by! P.S these pictures were taken with my iPhone 5.


Saturday, February 22, 2014

My "Go To" Smokey Eye- Super quick and stunning!

Hey Makeupl0verr's!! This look is my absolute favorite, it's glamorous, beautiful, and best of all super EASY! Keep reading for products and steps! Enjoy!


  1. Fill in Brows using Anastasia Beverly Hills Brow Wiz, I used it in the color Brunette. 
  2. Using Mac Photo Finish Concealer & a small flat brush, clean up under your brows for a flawless finish.
  3. Prime your eyelids using Urban Decay Primer Potion. (I just apply it with my index finger)
  4. Apply Malt by Mac with a Tapered Blending Brush into your crease. Apply a small amount just to help the colors look smoked out. (Don't worry too much about structure with this look)
  5. Take Mac Blending Brush #217 and apply Sable by Smashbox to the deepest part of your crease and down onto your lid. 
  6. Take that same #217 Brush (yes the dirty one lol) and apply Sumatra by Smashbox onto your lid. Keep the most concentrated amount of color close to your lash line and blend upwards going over some of the Sable color. This will blend the colors together. I apply a few layers of Sumatra just because I like it really dark. 
  7. Use a pencil brush and swipe some of Sumatra under your lower lash line.
  8. Line the upper and lower water line using Mac Pro Longwear Eyeliner in Black Ice.
  9. Here I used my favorite Red Cherry Lashes #43! :)
This look goes great with a nude/pink lip like the one from +Aurora AmorPorElMaquillaje (AuroraMakeup)  


Tuesday, February 11, 2014

Winged out Smokey Eye

Hey Makeupl0verr's, if you like the smokey eye pictured below, keep reading for the products and steps to get it!! :)

  1. Prime your eyes with Urban Decay Primer Potion. Under your brows prime with concealer, I used Mac Photo Finish Concealer in NC 20.
  2. Fill in your brows using Anastasia Brow Wiz in Brunette, or the shade that applies to you.
  3. If you want the sharp edge like mine, then add shadow shields to make that much easier to get!
  4. Take a Tapered Blending Brush and apply Malt by Mac into your crease and blend it out towards your brows. 
  5. Use a Mac 217 Blending Brush and apply Sable by Smashbox (or any light brown shade will do) into your crease. Keep this color in the deepest part of your crease and blend out away from your eye to begin the smokey effect.
  6. Using NYX Jumbo Pencil in Black Bean, apply a thin layer to your entire eyelids. Keep this layer thin!! Now take a small flat brush and smooth that out.
  7. With a clean Mac 217 Blending Brush, take Blackout by Smashbox and apply it only to the the outside corner of your eyes and blend it out as far as you'd like it to go. I blend it out almost meeting my brows just for a dramatic effect. 
  8. Using a pencil brush, I used Mac's 219, apply Azure by Smashbox to your lower lash line and blend it out. If you spray your brush lightly with Mac Fix+, you will get the Azure eyeshadow to look darker, which is what I did here. 
  9. Take a clean small flat brush, spray it with Mac Fix+, and apply Azure by Smashbox to your lids. 
  10. Take a clean blending brush with a small amount of Sable eyeshadow on it, and swipe it across your crease to make sure the shadows blend well together. 
  11. Take Smashbox Limitless Eyeliner in Onyx and apply it to the top and bottom waterlines.
  12. Apply Red Cherry Lashes in #20 with Duo Lash Glue.
  13. Remove your shadow shields and run your concealer under your eyes as well as along the edge of your eyeshadow for a super crisp look! 
Hope you guys liked this super dark smokey eye!! 
Comment here to suggest looks you'd like to see, or comment on my Instagram page (@Makeupl0verr)! 

Thanks for stopping by!

Monday, February 10, 2014

Makeupl0verr's love Bronze

Hey Makeupl0verr's, welcome back! 

As you can tell from my Instagram page (@Makeupl0verr) I cannot put down the Smashbox Full Exposure Palette! So many different looks you can create, and below is my latest creation. :) Steps are listed below! :) 

(The bottom row shadows are all matte and are named "M1", "M2", and so on from left to right)
  1. Prime your lids with Too Faced Shadow Insurance. 
  2. With a Tapered Blending Brush apply M3 to your crease. 
  3. Using a Mac 217 Blending Brush apply M2 to the deepest area of your crease, as well as out towards your temples to start building your smokey eye. The M2 e/s makes up most of this look, so be generous with this step to really complete the final look. :) 
  4. With a clean 217 Blending Brush apply M7 to your outermost section of your eye and lightly up into your crease. Blend the M7 out into the M2 e/s to complete the smokey eye effect.
  5. Using Mac Pencil Brush #219, apply M2 under your lashes, make sure to keep this in the outer half of your lower lashes. Take a small amount of M7 with the pencil brush, just to darken up the M2 under your lower lashes.
  6. Using a small flat brush, spray it with Mac Fix+, and apply Honey Lust by Mac onto your eyelids, as well as the beginning of your lower lashes.
  7. Take the NYX Wonder Pencil in Light and apply it to your waterline to really open up your eyes!
  8. Apply your favorite lashes to complete this look! I applied two pairs of Red Cherry Lashes because I'm pretty obsessed with how much better two pairs look instead of one. lol! I glued #747M on top of #747L and Voila!! 
Here's the final look!! :)


Sunday, February 9, 2014

Frosty Smokey Eye


Hey Makeupl0verr's,  here's another smokey eye I created inspired by Valentine's Day :) Steps and products listed below for your enjoyment! :) 

  1. Outline the base of your brows with Mac Dipdown Fluidline using a small angle brush, mine has no name, it's so old! I filled in my brows from the arches to the end with Dipdown. To fill in the beginning to middle of my brows I used Anastasia Beverly Hills Brow Wiz in Brunette. Clean up under your brows just to make sure it looks as clean as possible using Mac Studio Finish Concealer NC 20. 
  2. Prime your eyes with Urban Decay Primer Potion, and I used the original color. I prefer to apply Shadow Shields to make sure my shadow has that crisp line at the edge but this is optional! :) 
  3. Using Mac 224 Tapered Blending Brush, or any tapered blending brush, apply Mac Eyeshadow in Malt onto your crease.
  4. Take Mac 217 Blending Brush and apply Sable by Smashbox onto your crease, keeping this color only in the deepest part of your crease.
  5. Take Mac Pro Longwear Eyeliner in Black Ice and apply a thin layer as a base in the outer corner of your eye where your black eyeshadow will go. This will intensify the smokey effect. 
  6. Now apply Mac Eyeshadow in Black Tied over the Black Ice pencil with a clean Mac 217 Blending Brush. Blend, Blend, Blend and bring the Black Tied e/s as far into your eyelids as you'd like depending on how dark you want your look. Drag the Black Tied e/s down under the outer part of your lower lashes with Mac 219 Pencil Brush.
  7. Apply Mac Eyeshadow in Nocturnelle with Mac Eye Shader Brush 239  directly next to Black Tied and bring that in around the half way point of your eyelids. Take a clean 217 Blending Brush and blend between Black Tied and Nocturnelle to make sure they are no harsh lines. 
  8. Spray a small flat brush with Mac Fix+ and apply Mac Eyeshadow in Swish to the inner half of your eyelids, as well as under the inner half of your lower lashes. 
  9. Apply Inglot Gel Liner #77 with an eyeliner brush to your water line. Totally optional! This gel liner works well for my super watery water line!
  10. Apply your favorite lashes to complete your look! I love Red Cherry Lashes  and I glued #117 on top of #747M.
Hope you try this look and tag me in your pics! (@Makeupl0verr) 

Thanks for stopping by! :)